Using a custom domain
If you don’t want to use the default subdomain provided by Hiveage for invoices and estimates you send, you can easily replace it with your own custom URL. Instead of directing clients to https://yoursubdomain.hiveage.com, you can just send them to https://billing.example.com. Read on to see how you can get started right away!
Step 1: Configure your domain
To add a new CNAME Record for your domain, use the DNS panel of your domain registrar.
There, enter the subdomain you wish to use as the Name. For example, if you want to use billing.example.com then enter ‘billing’ as the name.
Then enter offload.hiveage.com as the corresponding Value to your CNAME (some DNS interfaces may label it as Host Name, Fully-Qualified Domain or Data).
Once you have saved the CNAME record, please write to support@hiveage.com and inform us about the custom domain configuration; we will then make the necessary updates from our end to implement it.
Step 2: Configure Hiveage
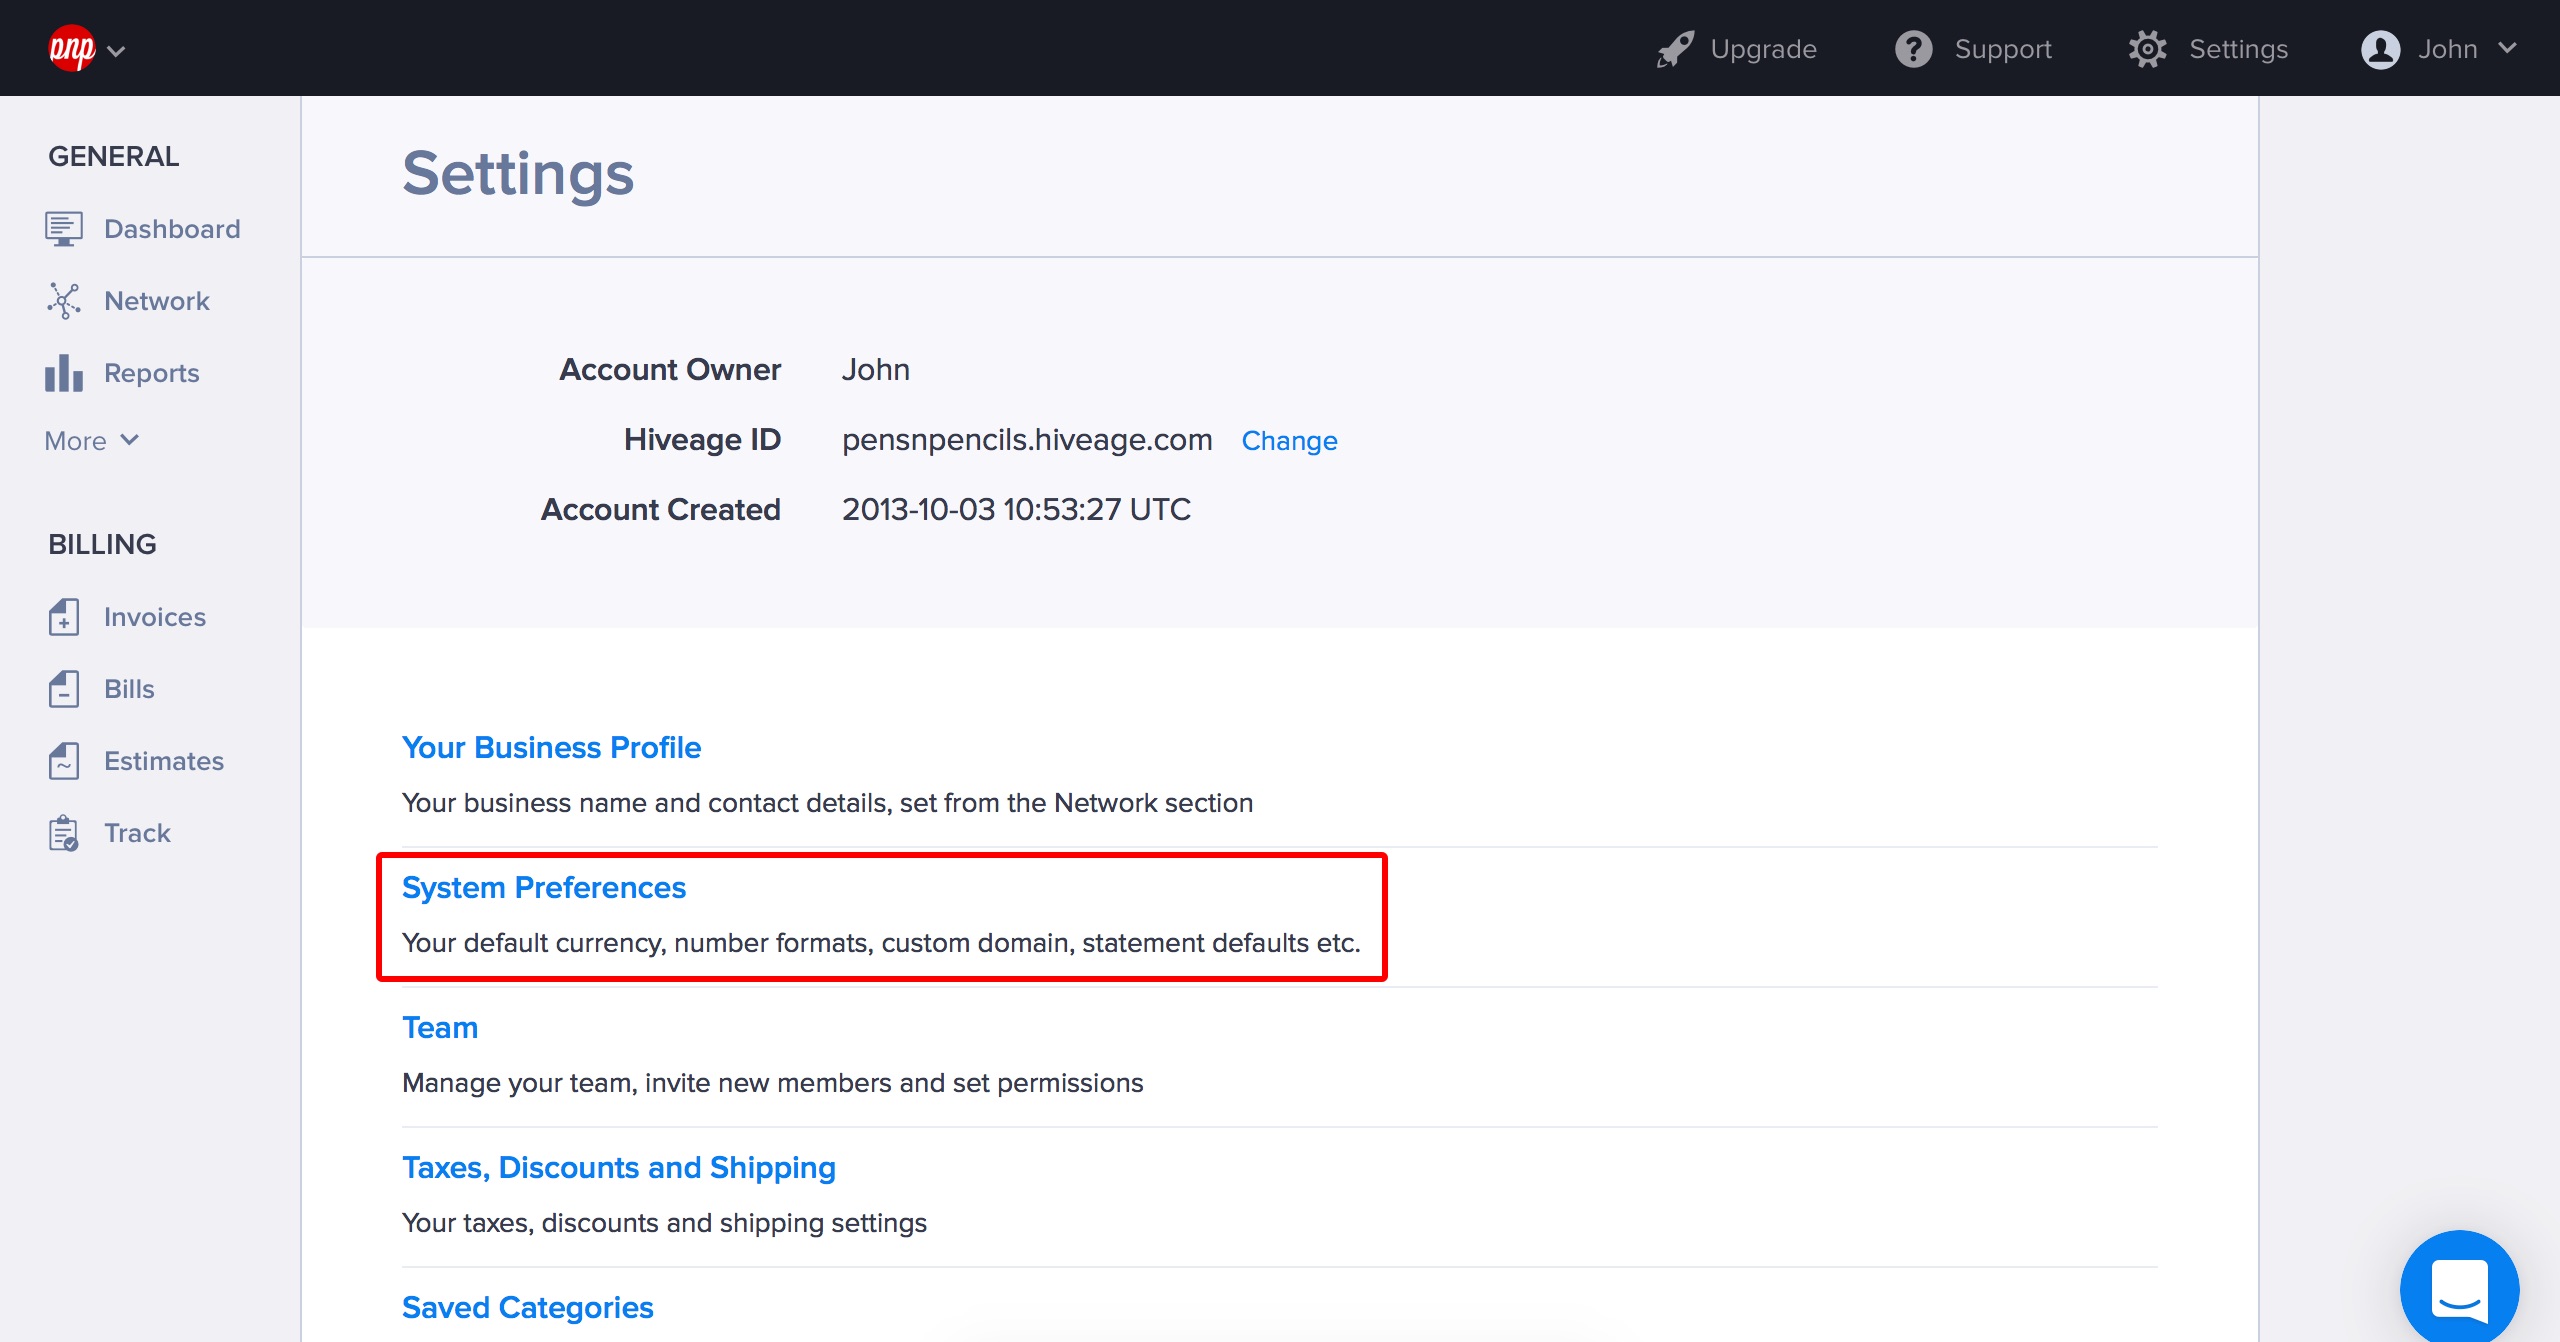
1. In your Hiveage account, open Settings > System Preferences

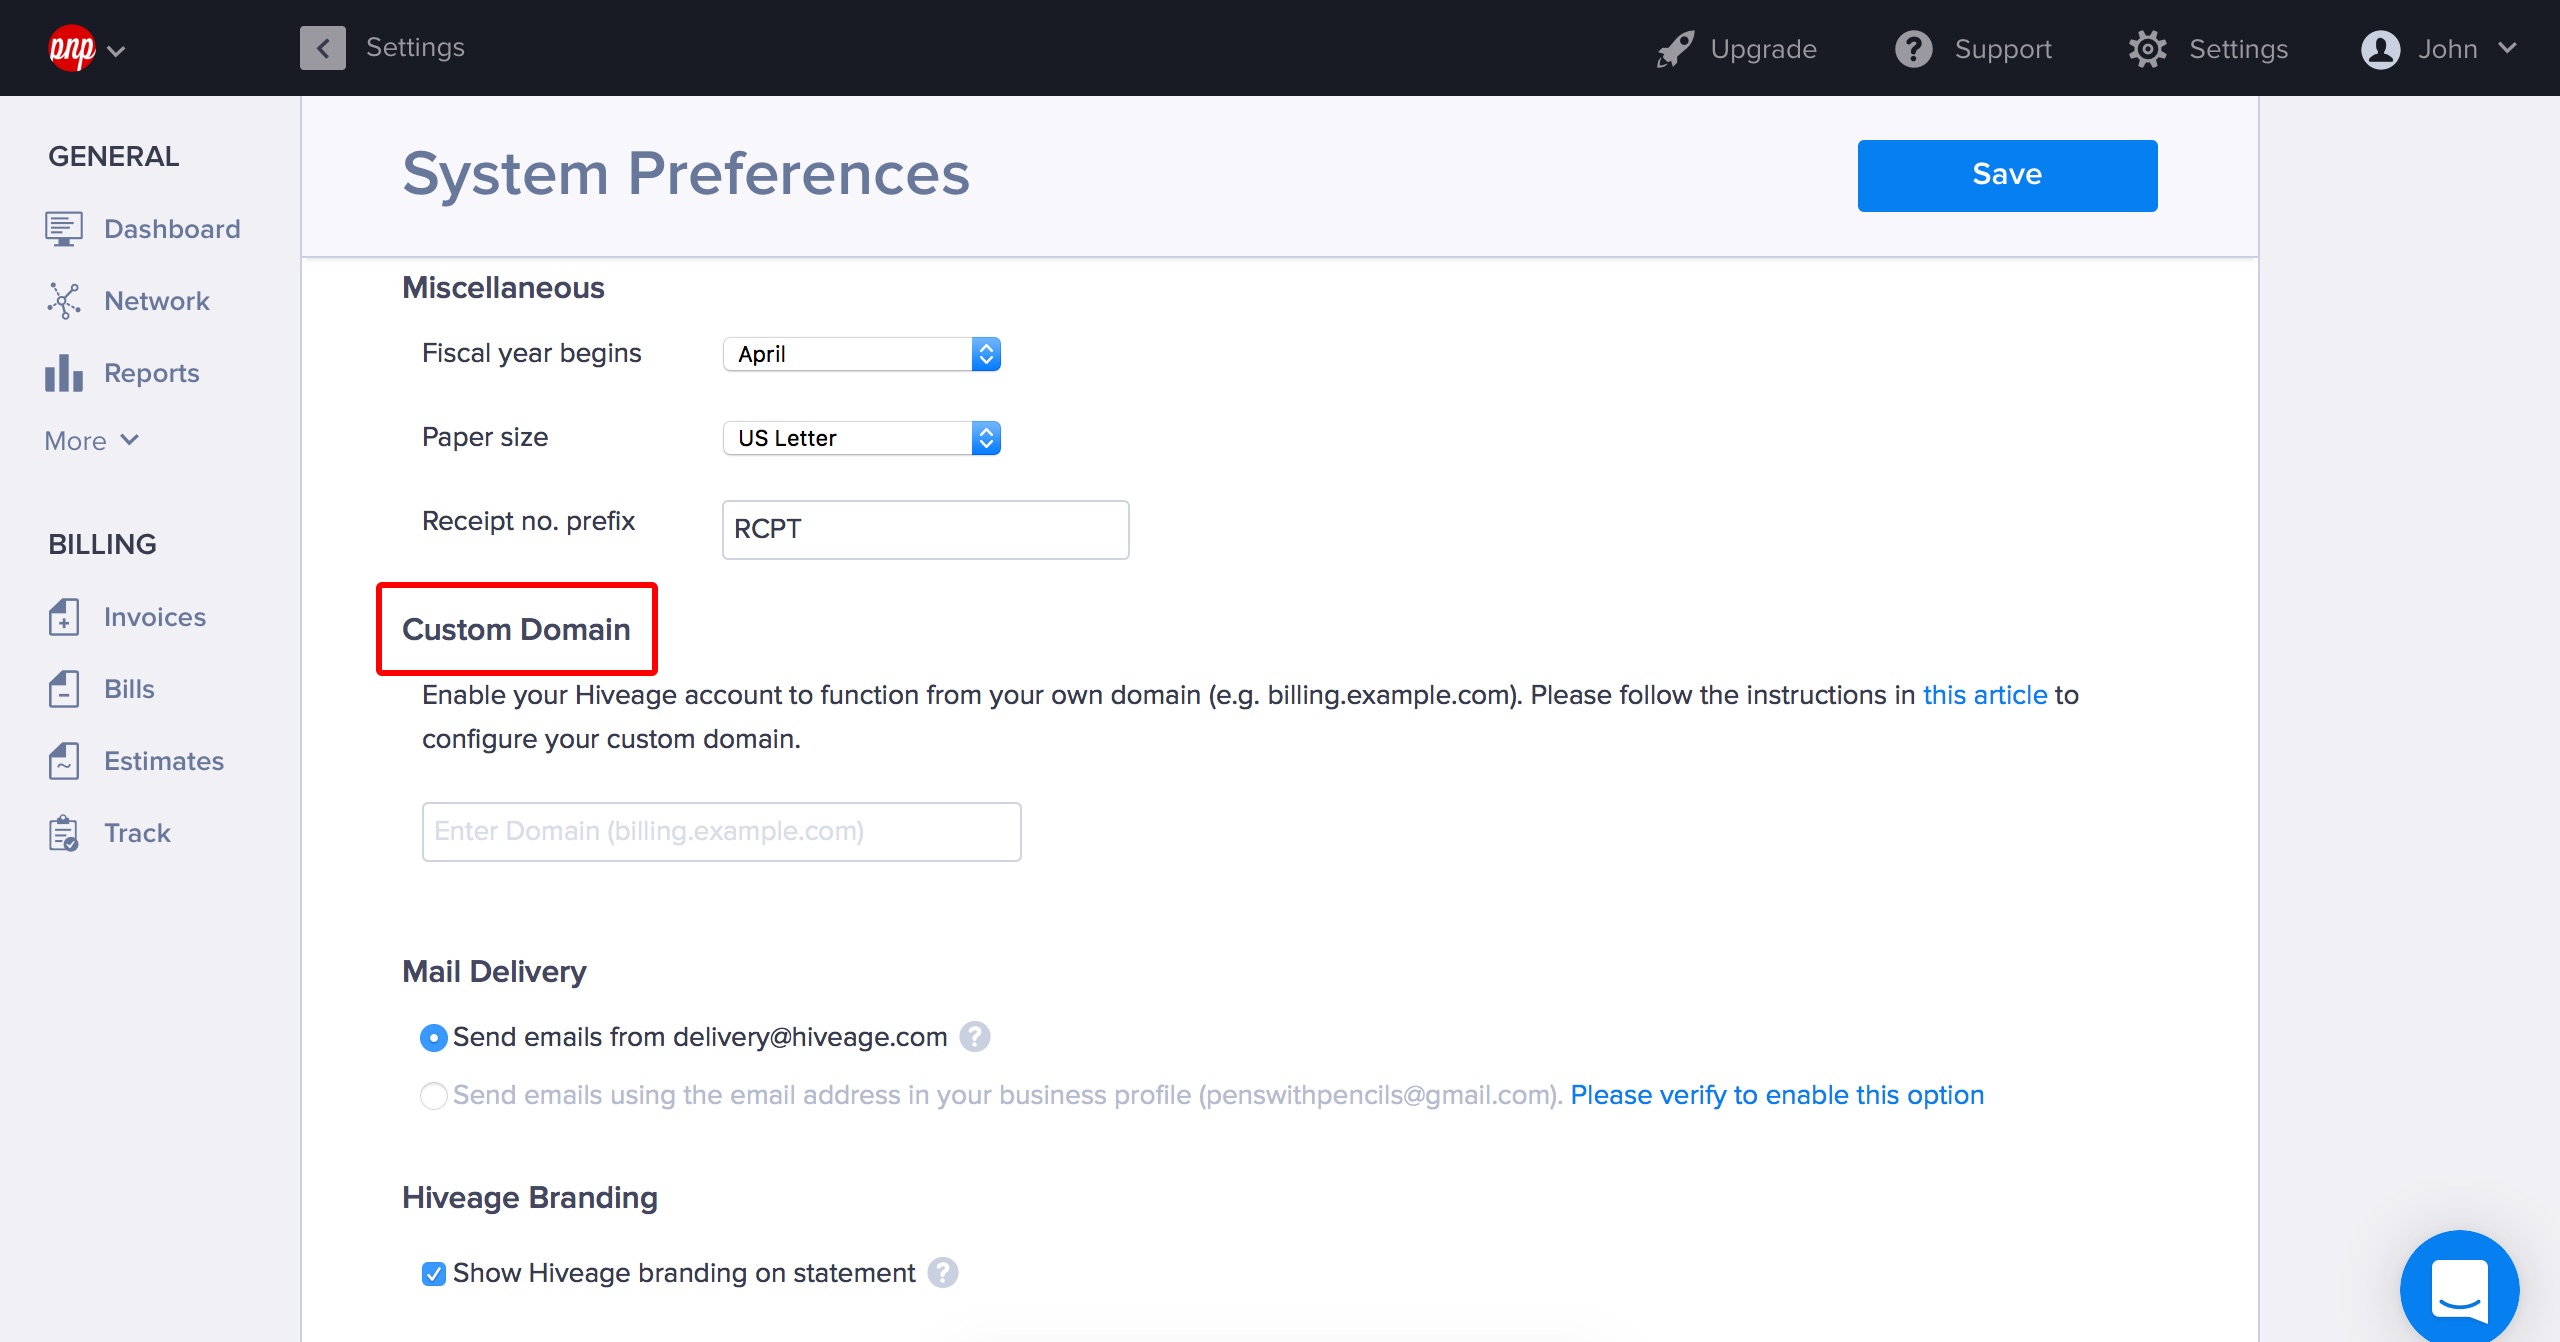
2. Scroll down to the Custom Domain field and enter your custom domain (e.g. billing.example.com) and hit the Save button at the top of the window.

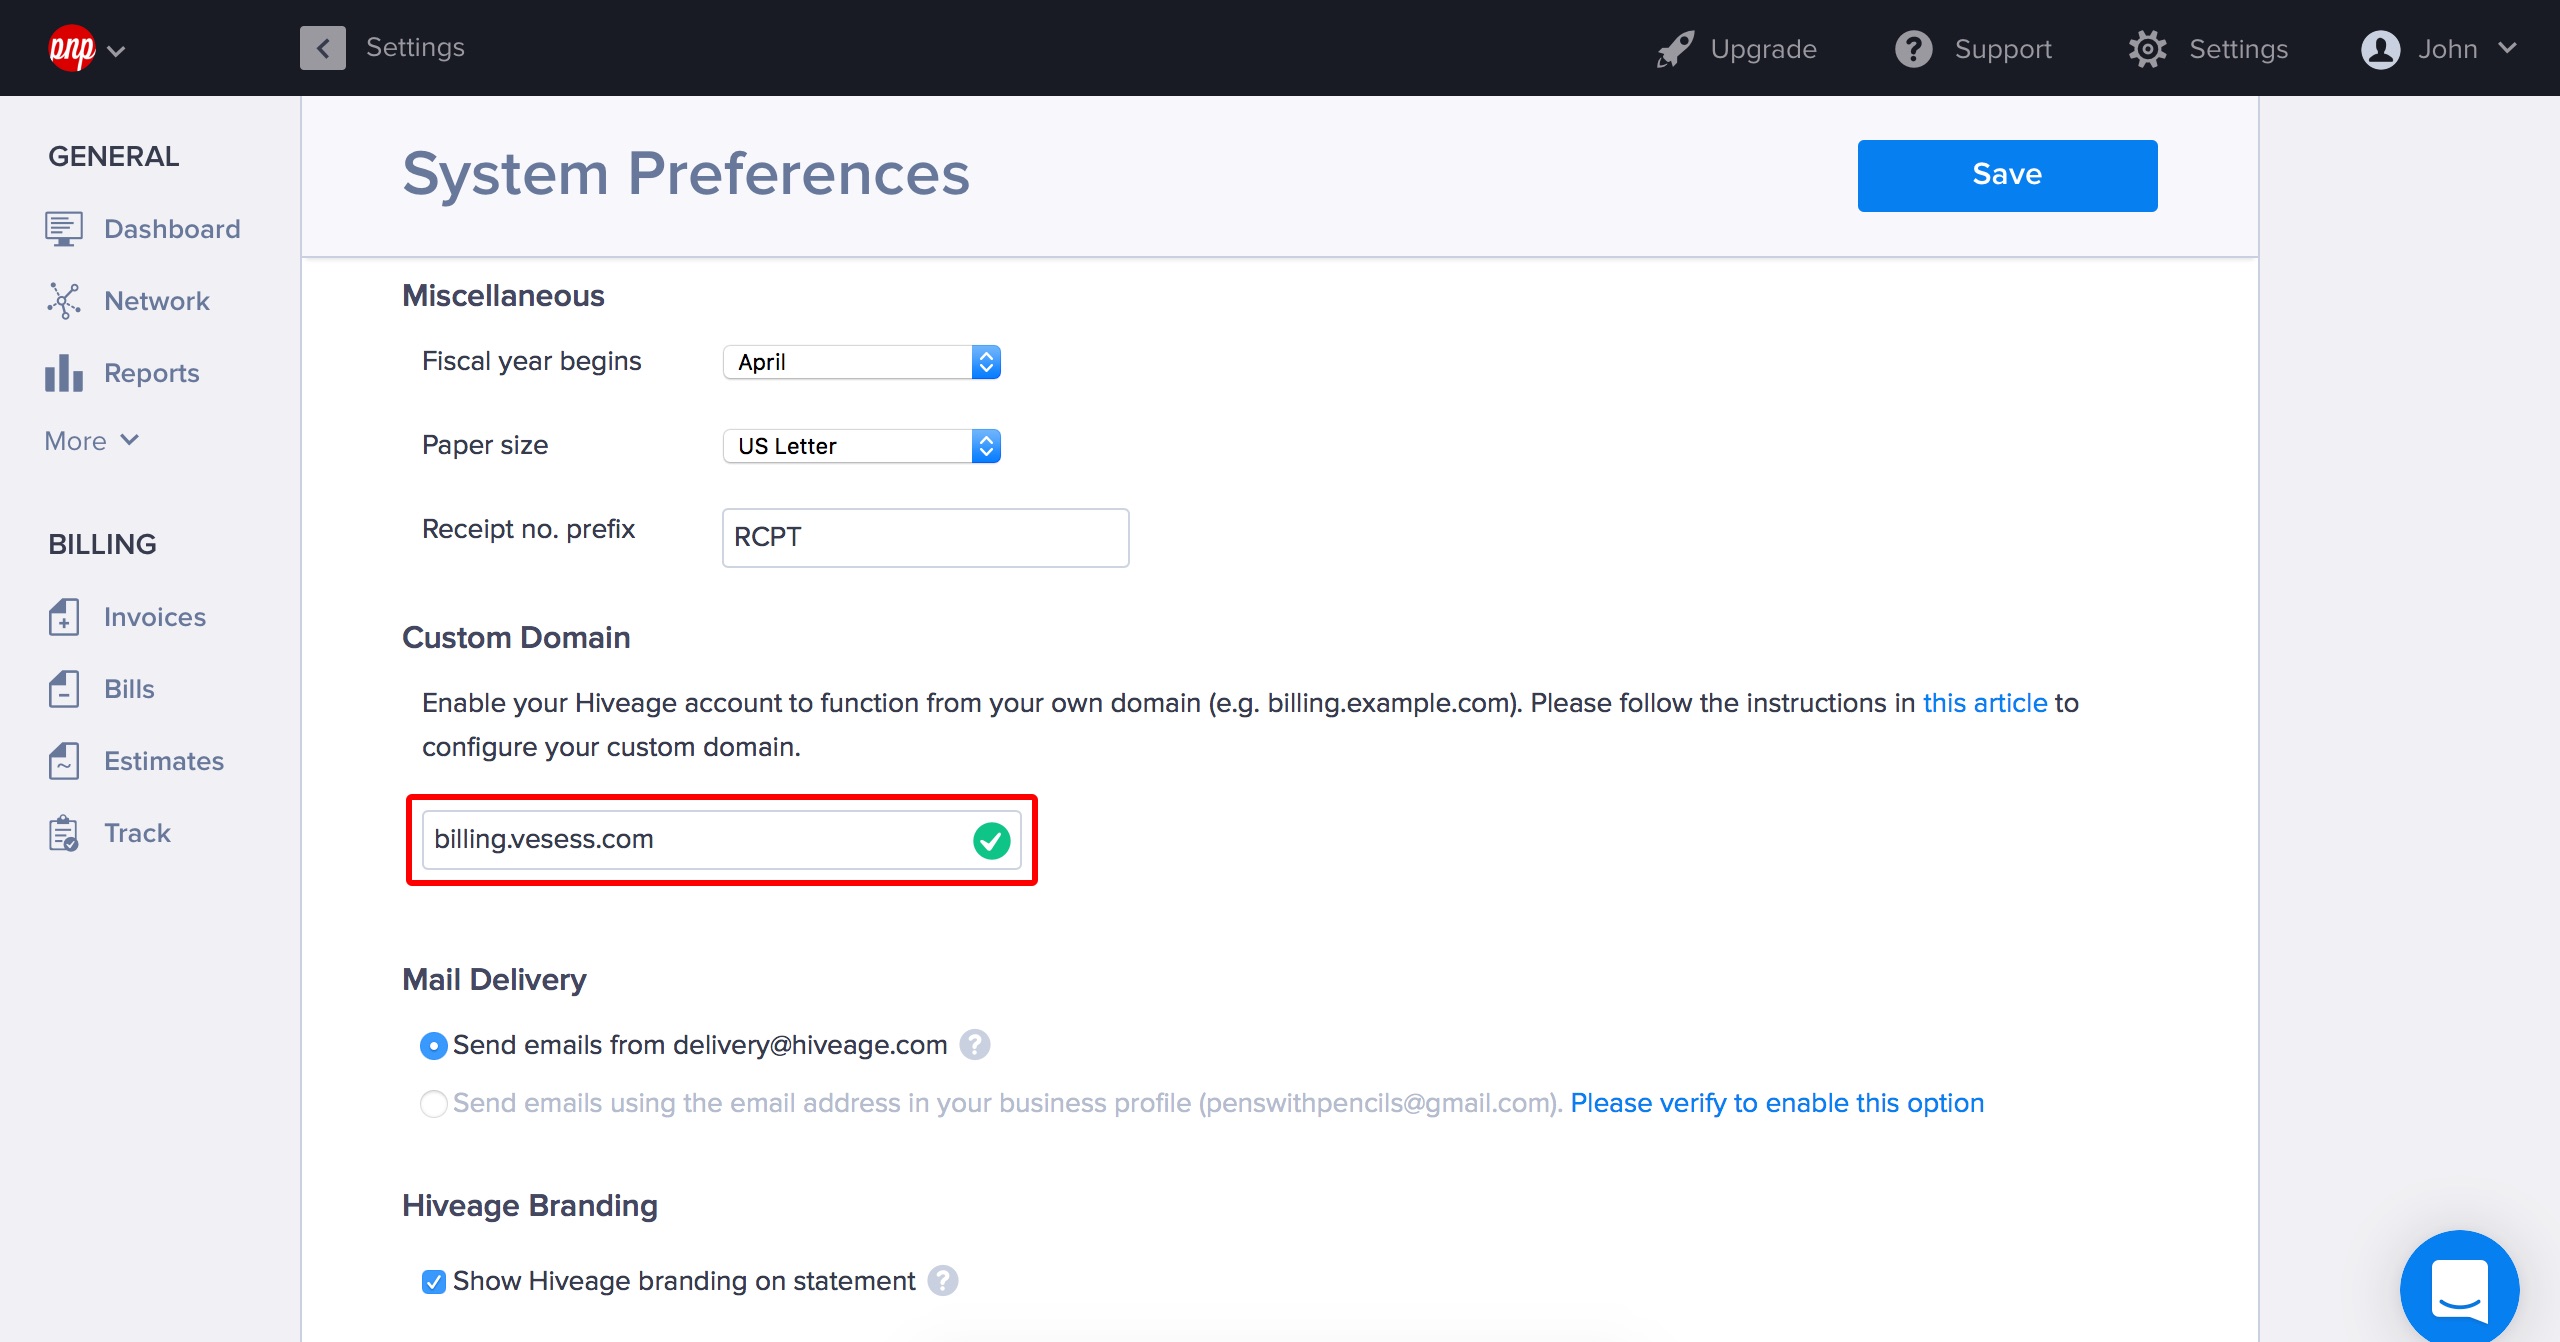
3. Upon saving the preferences you will see the Verify Domain button next to the Custom Domain field. If your domain name is forwarded properly, you will see a green tick in the form field. If you see a red exclamation mark, it means that your domain is not forwarded properly and you should try again in a few hours (new domains and subdomains may take up to 72 hours to propagate correctly.)

That’s it! Your Hiveage account should now be accessible at your custom domain.
