Accepting payments via Paymentwall
Accepting payments via Paymentwall
Setting up Paymentwall for Hiveage will only take a few minutes, but requires you to login to both your Paymentwall and Hiveage accounts.
In your Paymentwall account:
1. Make sure you are in Merchant Mode.

2. Click Add new project

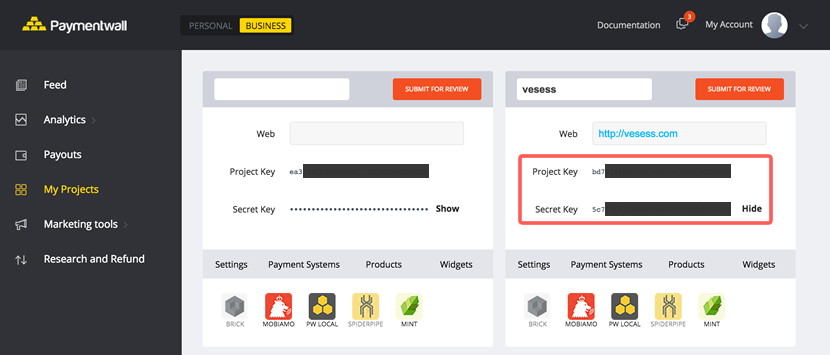
3. Copy the Project Key and Secret Key to fill the Paymentwall module configurations in Hiveage (detailed below)

4. Click the Widget button inside the project and add any type of widget. Recommended widgets are Paymentwall Multi New and Paymentwall Multi.


5. Now if you go to widgets again, you will see a list of active widgets.
Get the Widget Code of the widget you just added, and use it to fill the relevant field in the Paymentwall module configuration in Hiveage.

6. Go back to the project and click Settings.

7. Add the following as **Pingback URL** (change “your-subdomain” to your actual Hiveage subdomain): https://[your-subdomain].hiveage.com/payment_notifications/payment_wall/notification
8. Set the Pingback signature version to 2

9. Add a custom pingback parameter called amount and select the value of it to be OWN.

10. You can then go to the Payment Systems section and add the required payment services for the project.


In your Hiveage account:
1. Select Integrations from the main menu.
2. Click the Paymentwall module.

3. Enter your Project Key, Secret Key, and Widget Code.

4. If you would like this to be your default payment gateway, tick Enable this gateway for all outgoing non-recurring invoices by default.
5. Click Save and Enable.
If you enable Paymentwall by default, it will appear as a payment method on all invoices you send from Hiveage. Alternatively, you can leave it unchecked, and enable Paymentwall for individual invoices from each invoice’s Invoice Settings section.
